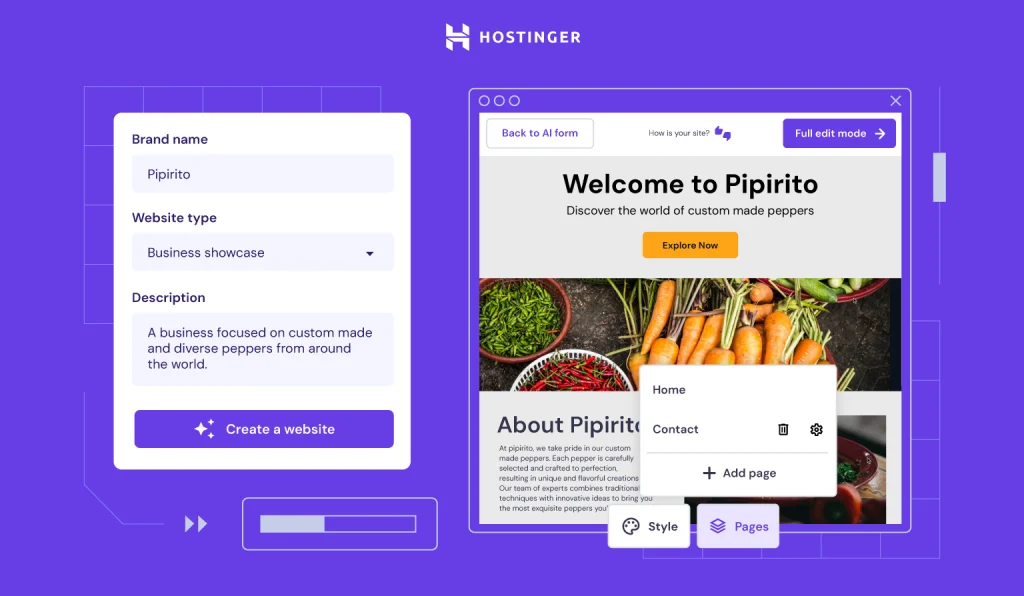
February 24, 2024 You only need a name, a website type, and a short description to get a website with Hostinger’s AI-powered website builder. The most recent update ensures that every website AI generates is unique and that the design and content fit the nature of the site. The website creation process remains the same […]
When I launched my first WordPress website, I wasn’t thinking about privacy laws. Like most beginners, I was focused on creating helpful content and getting more traffic. But times have changed. Now, I hear from many small business owners who are worried about data privacy.… Read More »
These 30 social engineering attack statistics reveal human vulnerabilities and how bad guys love to exploit them (to your detriment) Social engineering doesn’t hack your company’s devices or digital assets;…
Faced with customer service issues at his previous hosting providers, Jake, a brand designer, began searching for a new web host. Hostinger’s live chat function was one of the mai…
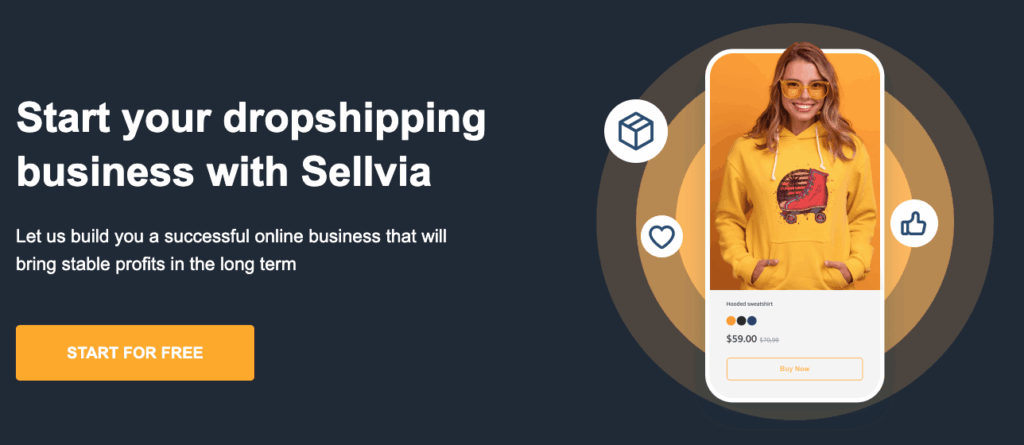
Sellvia is an all-in-one ecommerce platform designed to help entrepreneurs start and grow their online businesses. From building a storefront to handling payments, logistics, and marketing—Sellvia gives users everything they need to succeed. It’s built for sellers at any stage, and even includes educational resources to help them grow smarter and faster.
😫 The Problem: Customer Follow-Up Was Time-Consuming and Inconsistent
As Sellvia grew, so did the challenge of re-engaging their customer base. Most email platforms they tried required too much time to set up and lacked the automation needed to manage campaigns at scale. They were stuck spending hours on manual outreach that often fell flat.
What they needed was a system that could automate follow-ups, personalize engagement, and actually drive results.
✅ Why AWeber Was the Right Fit
Sellvia needed a platform that could grow with them—one that was powerful, intuitive, and didn’t require a team of experts to manage. AWeber checked every box.
What made the biggest difference?
AWeber’s automation, segmentation, and reporting tools gave Sellvia the ability to:
Turn email into a sales engine by sending tailored product recommendations and promotions based on customer behavior
Re-engage cold leads automatically with personalized follow-ups that bring customers back to complete their purchase
Pinpoint what drives revenue using performance reports that reveal which emails convert—and which to improve or replicate
With these tools in place, Sellvia’s marketing became more strategic, scalable, and effective—without adding extra workload.
🧩 Turning Missed Opportunities Into Revenue
AWeber’s Workflow automations became a game-changer. The team built welcome sequences for new subscribers and re-engagement flows for inactive ones—all running on autopilot.
They no longer had to manually manage follow-ups. Instead, they let AWeber handle it with:
Behavior-based email sequences
Clear, insightful reports
Effortless reactivation flows that brought customers back to buy
📈 The Impact: Increased Revenue and Recovered Transactions
Since implementing AWeber’s automation:
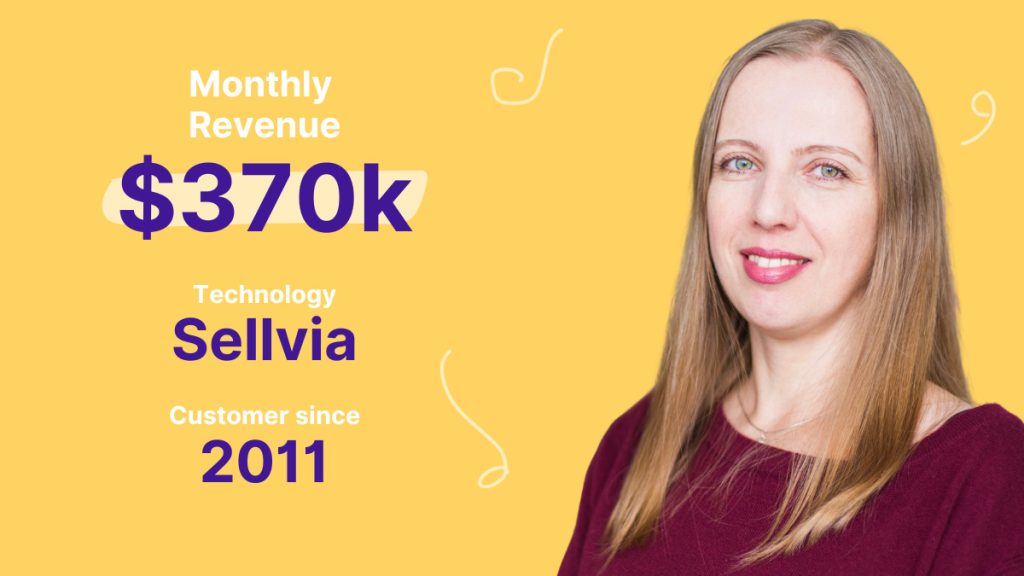
$370K+ in monthly revenue now generated by automated follow-up campaigns
120,000+ inactive customers re-engaged
2.1 million+ lost transactions recovered
Countless hours saved by ditching manual email tasks
“Our automated campaigns don’t just retain buyers, they drive measurable revenue,” says Polina Beletskaya of Sellvia. “It’s like having a 24/7 marketing team that never sleeps.”
🚀 Want Results Like These?
If you’re looking to scale without burnout, AWeber’s Workflow automations are built for you. Whether you’re reactivating cold leads or welcoming new customers, it’s all handled automatically—no complex setup required.
With AWeber, you can:
Send behavior-based follow-ups using branching logic
Create welcome or re-engagement sequences with ease
Deliver content automatically with RSS-to-email
Track what works and optimize fast
Launch in minutes using pre-built automation templates
Have you ever clicked on an image on a website expecting it to zoom in, only to realize it doesn’t? It’s a small thing, but it can be surprisingly frustrating for your visitors. When people can click to enlarge an image—whether it’s a product photo,… Read More »
Text editing mode is here – one of the most requested features has arrived in Hostinger Horizons, your AI-powered partner for creating websites and web apps. Whether you’re fixing…
Every time someone clicks away from your store, chances are high you’ll never see them again—unless you act in seconds. Event-based email automation flips the script, sending tailored messages the instant a subscriber takes action (or inaction), so you recover lost sales and keep engagement soaring.
In today’s inbox-crowded world, timing isn’t just everything—it’s the only thing. By aligning your campaigns with real user behaviors—like browsing products, downloading resources, or leaving items in a cart—you’ll deliver the right message to the right person at precisely the moment they’re most receptive. No more generic blasts. No more missed opportunities.
In this guide, you’ll discover exactly how event-based email automation works, why it outperforms traditional campaigns, and how to set up your first high-impact trigger—so your emails practically sell themselves.
What Is Event-Based Email Automation?
Event-based email automation is a marketing technique where emails are sent based on specific actions (or events) your subscribers take. Instead of broadcasting the same message to everyone at a set time, you create automated emails that respond to individual behavior. For example:
Welcoming new subscribers the moment they join your list
Sending a special discount when someone abandons their shopping cart
Following up after a customer makes a purchase
Reminding users about an upcoming event or webinar they registered for
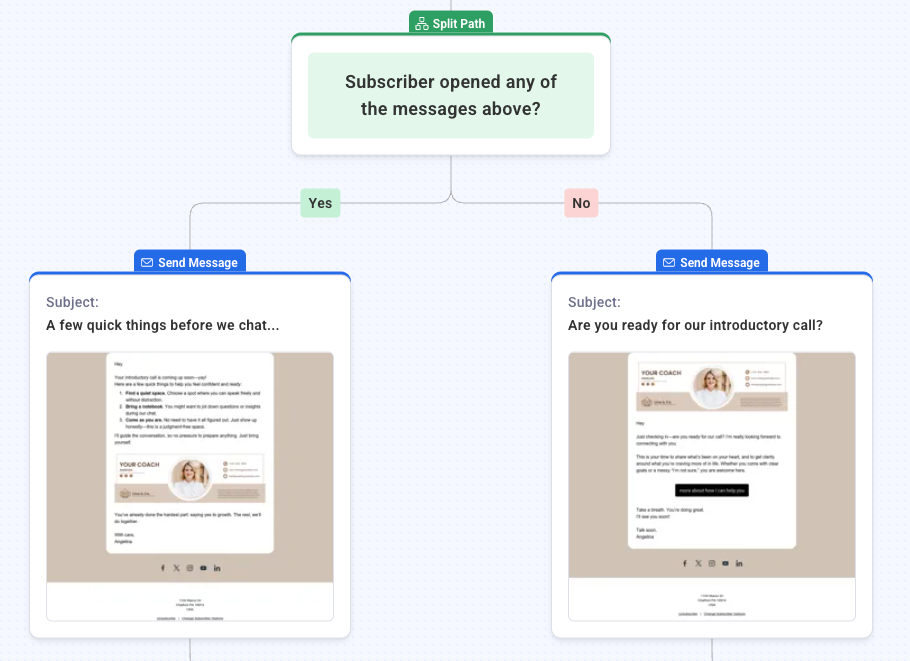
By utilizing AWeber’s Workflow automations with conditional branching, you can further personalize these responses, creating unique subscriber journeys based on their interactions, demographics, or previous engagement.
How Does Event-Based Email Automation Work?
Successful event-based email automation requires three essential components:
An event trigger: The specific subscriber action you want to respond to (like signing up, purchasing, or clicking a link).
A segmented list: Groups in your email list that help your automation tool identify who qualifies for each event.
Automated workflow: The sequence of emails and rules you set up to deliver the right message after a trigger.
AWeber’s Workflow automations provide an intuitive visual builder layout, making the process straightforward. With auto-save functionality, you can safely tweak workflows anytime, ensuring your updates won’t go live until you’re ready.
Example Automation: Welcome Email Series
How to set it up: Create an automation that triggers when someone subscribes to your list. Your workflow might include:
Immediate: Send a personalized welcome message.
+2 days: Offer helpful resources or your most-read blog post.
+5 days: Invite them to connect on social or reply to the email with a question.
Why it works: New subscribers receive timely, relevant info while your brand is still fresh in their mind. This builds trust and keeps them engaged from day one.
When to apply: Any time you gain subscribers—whether from a website signup, lead magnet, or promo event.
Key Benefits of Event-Based Email Automation
Event-based email automation isn’t just convenient; it’s essential for building long-term relationships with your audience and maximizing marketing results. Here’s why:
Personalization at scale: Tailored emails respond to user actions, making each message relevant to the recipient.
Timely engagement: Automations deliver messages precisely when your subscriber is most interested or ready to act.
Increased conversion rates: Well-timed emails often outperform generic campaigns in terms of opens, clicks, and sales.
Saves time and resources: Once set up, your automation continues working 24/7, nurturing leads and customers without manual effort.
Improved customer experience: Subscribers get helpful, non-intrusive emails that solve their problems or offer value at just the right moment.
For example, if you’re an online retailer you can use an event-based workflow to send a gentle reminder to shoppers who left items in their cart. Studies have show, that an abandoned cart reminder can increase completed purchases by 20%. This type of automated campaign has also been shown to yield 6x higher transaction rates than traditional emails.
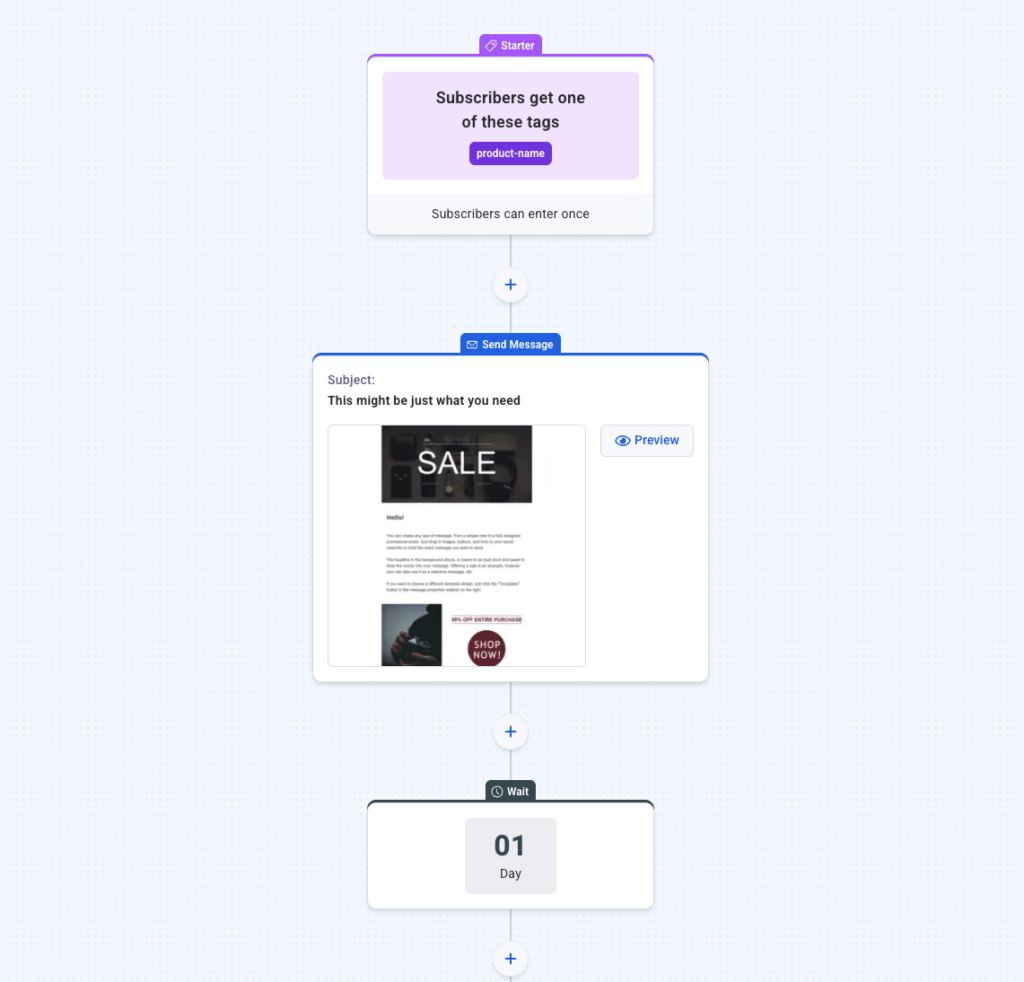
Popular Event Triggers to Use
To maximize your results, start by identifying which events matter most in your subscriber journey. Here are some high-impact triggers for event-based email automation:
New subscriber sign-up: Send a warm welcome and provide helpful next steps.
Abandoned cart: Remind shoppers of left-behind items (and possibly offer a small incentive).
Product purchase: Deliver order confirmation, onboarding tips, or upsell offers.
Birthday or anniversary: Reward subscribers with a special treat or exclusive content.
Download completed: Follow up with additional resources or invitations to engage further.
Event registration: Send reminders and share important event details before and after the event.
Conditional branching using AWeber’s Workflow automations ensures your emails match subscriber interactions, significantly enhancing engagement.
How to Set Up Event-Based Email Automation in Practice
Ready to implement event-based email automation? Here’s a step-by-step process to get you started:
Identify key subscriber events: Look for actions that represent a meaningful step in your customer journey. Use analytics to determine which behaviors align with engagement or purchase.
Map your automation workflow: Outline the sequence, timing, and content of each message. Think about what the subscriber needs at each moment.
Create your content: Write concise, value-driven emails for each step. Personalize as much as possible using the subscriber’s name or past actions.
Build and test your automation: Use your email tool’s automation builder to set up triggers and emails. Test each workflow thoroughly to ensure timing, content, and links all function as expected.
Monitor and optimize: Regularly review your analytics. Adjust timing, messaging, or incentives based on open rates, click rates, and conversions.
Here’s a step-by-step process for setting up a reengagement automation in AWeber.
Best Practices for Effective Event-Based Automations
Keep messages focused and relevant: Each email should match the subscriber’s action and provide clear value or next steps.
Don’t overload your audience: Use thoughtful timing and avoid sending too many emails in quick succession.
Provide clear calls-to-action (CTAs): Tell your reader exactly what to do next, whether it’s redeem an offer, read a resource, or reply with a question.
Personalize whenever possible: Even simple details—like using a first name or referencing a specific product—can increase engagement.
Test and iterate: A/B test your messages, subject lines, timing, and automation paths to see what works best for your audience.
See how these principles played out for an independent course creator: By automating onboarding emails after every sign-up, she reduced unsubscribes by 35% and saw greater participation in her online programs. Her secret was fine-tuning each automation to match subscriber interests, not just basic demographics.
Take the Next Step: Make Your Emails Work Smarter
Event-based email automation using AWeber’s Workflow automation transforms your marketing from manual to personalized, dynamic journeys. Meet subscribers exactly when they’re ready to engage—automatically enhancing relationships and boosting your bottom line.
Boost engagement and conversions effortlessly with automated, personalized emails. Sign up for AWeber and create your first Workflow today.
When I first started building websites, I thought about using Drupal. It’s a strong platform, but it was too complicated and hard to learn, especially for beginners. That’s why I chose WordPress instead. It’s powerful, easy to use, and now, it’s what I use for… Read More »